Changelog
Stay up to date with the latest Chat Data feature updates, improvements, and bug fixes.

2024-09-02
We’re excited to launch a new way to share your chatbot effortlessly—QR Code Sharing! Now, you can generate a QR code for your chatbot and let customers connect with you instantly by simply scanning it.
📌 Why Use QR Codes?
- 🔹 Instant Access – Customers can connect with your chatbot in seconds.
- 🔹 Personalized Experiences – Gather insights to enhance user engagement.
- 🔹 Cost-Effective Support – Automate FAQs and routine queries to save resources.
- 🔹 24/7 Availability – Provide seamless support anytime, anywhere.
- 🔹 Versatile Applications – Use it for product info, bookings, feedback, and more.
- 🔹 Enhanced Marketing – Run loyalty programs and promotions with ease.
🔧 How to Get Started?
1️⃣ Generate Your QR Code – Click the "Share" button in your chatbot dashboard, and your QR code will be created automatically.
2️⃣ Download the QR Code – Save it in your preferred format.
3️⃣ Utilize It Across Channels – Print it on business cards, product packaging, advertisements, digital displays, and more!
By leveraging QR codes, you can boost customer interactions, streamline operations, and grow your business effortlessly.

2024-08-26
We're excited to announce the launch of Business Profile Settings, a powerful new feature that lets you create a dedicated business profile within your chatbot widget.
🌟 What's New?
- 🔹 Profile Description – Showcase your business with a detailed description of your history, mission, and offerings.
- 🔹 Social Links – Add up to 5 social media links to connect with your customers.
- 🔹 Action Items – Display up to 5 key action links on your business profile page.
- 🔹 Flexible Display Options – Choose whether to enable the business profile in an iframe or the chatbot widget. You can also set the Business Profile as the first view before the chatbot interface.
- 🔹 Direct Message to Email – (Available on Standard plans and above) Enable customers to send messages directly to your registered email, ensuring no inquiry goes unnoticed.
📌 How to Get Started?
Head to Your Business Profile Settings to set up your profile and start engaging with customers in a more professional and personalized way!
🔄 Seamless Switching: Customers can easily switch between the chatbot and the business profile interface with a single click on the top-left icon of the chatbot widget.
This feature enhances your chatbot experience by making it easier than ever to showcase your brand and engage with potential customers.
Start setting up your Business Profile today! 🚀

2024-08-09
Introducing Lazy Live Chat Escalation - Smart control over when human support is triggered.
Key Features
- Smart Triggering: Live chat button appears only when needed (e.g., chatbot can't answer, user requests human support)
- Quick Setup: Enable via Settings > Live Chat with customizable trigger conditions
Dashboard & Notifications
- Real-time Alerts: Email and Zendesk notifications for escalation requests
- Chat Management:
- Filter by status (Unrequested/Unassigned/Open/Ended)
- Track customer status and information
- View chat history
Communication
- Automated Notifications: Email alerts when either party sends messages while the other is offline
- Dedicated Portals: Separate URLs for agents and customers to continue conversations
- Closed State: Optional message when chat ends, prompting widget refresh
Enable this feature to ensure human support is available exactly when needed.

2024-07-25
we are excited to launch the Sender Email White Labeling feature for you.
Previously, all our notification emails—including daily conversation summaries, daily leads summaries, live chat escalation notifications, and new message notifications—were sent from Chat Data's email address. This approach didn't align with the branding needs of our white labeling customers who wish to represent everything under their own brand.
Introducing Email White Labeling
If you are on our Reseller or Professional plan, you can now configure this feature by navigating to Settings > White Labeling. Follow these simple steps:
- Add a Customer Email: Input the email address you want your notifications to be sent from.
- Update Your DNS: Update your DNS settings as indicated in the provided table.
- Enjoy Rebranded Notifications: All emails related to your chatbot will now be sent from your specified email address instead of Chat Data’s.
For example, a live chat escalation notification will now reflect your own brand’s email address, giving your communications a more personalized and professional touch.
We believe this enhancement makes white labeling more complete and thorough. Stay tuned—more email notification options will be added in the future to further enhance your branding impact.

2024-07-16
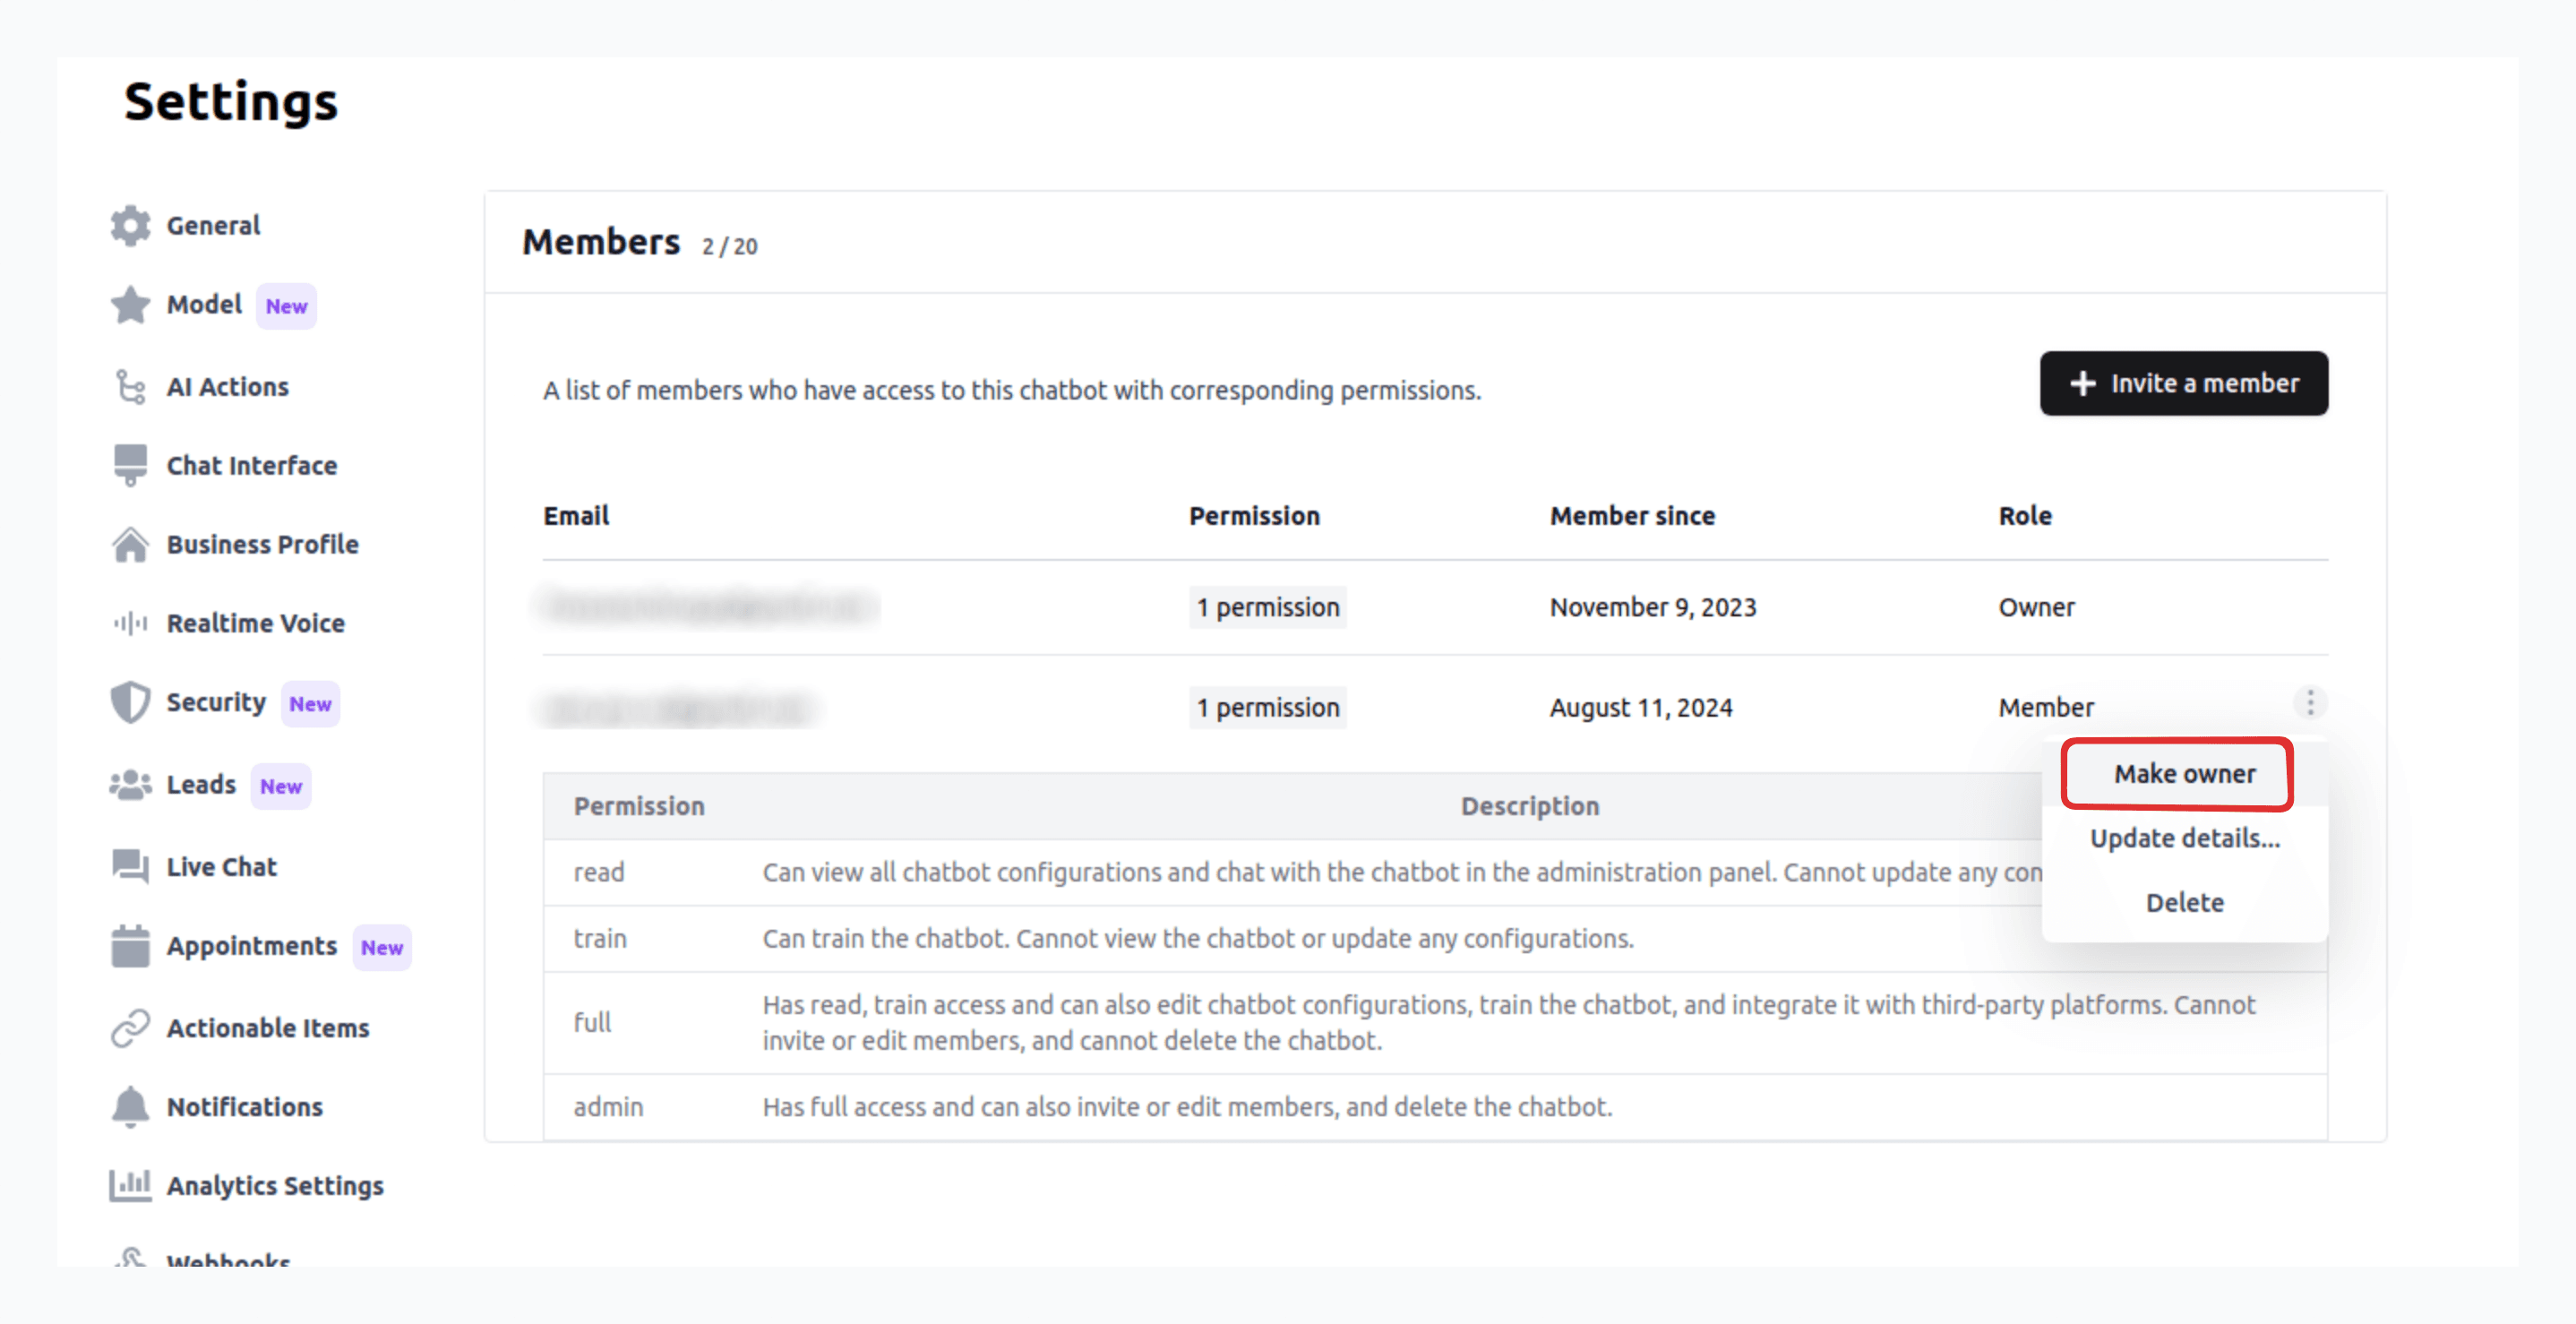
We're excited to introduce Team Management for better chatbot collaboration!
Key Features
- Team Size Limits: Free (0), Entry (5), Standard (20), Professional (1000) members
- Access Management: Manage team members through the Settings > Members tab
Permission Levels
- Read: View configurations and chat
- Train: Train chatbot
- Full: Edit configurations, train, and integrate
- Admin: Full access plus member management
- Owner: Complete control with ownership transfer rights
Quick Start
- Go to Settings > Members
- Click Invite a member
- Enter email and set permissions
Note: Invitees must have a Chat Data account
Learn more about team management from our docs → Invite Team Members